Window Film Installation
 Video Installation Instructions:
|
-Tape Measure -razor blade or razor scraper -windex or other glass cleaner -Squeegee -Liquid Dish detergent such as Dawn -Spray bottle -Paper towels |
|

Precautions:
-Clean glass VERY well, just the
smallest speck of dirt can cause bubbles.
-Make sure ALL areas of glass and image
are wet before your decorative window film it on glass. THE WETTER THE BETTER
-Try to schedule installations during mild temperatures, not too cold or too hot. If installing in the summer (for example) install during the morning
-Seaming: in rare instances (due to size constrictions) your decorative window film will come in more than 1 piece. A butt-joint type seam accomplished by overlapping film at one of the leadlines within the design, when done, the seam is barely visible since the overlap is done along one of the black lines of the window film design. 99% of the time, this will not be an issue.
Download printable instructions HERE
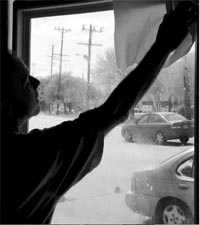 |
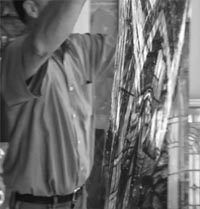
1. Carefully clean area to which your Illuminado decorative window film will be applied. Be sure to remove all traces of dirt & grime, especially around the edges. Use a razor blade to scrape off any potential problem areas |
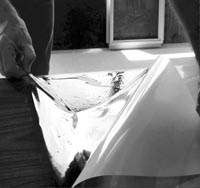 |
2. After double checking window size, cut decorative window film to size. IMPORTANT:Next slowly peel off backing. This step works best on a table thats been sprayed over with water before laying the image (face down, backing up) on it. The water acts as an adhesive, keeping the image in place on the table as the backing is peeled off CAREFULLY!!!! |
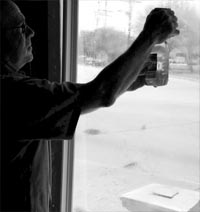 |
3. Using a solution of 10-18 drops of mild dish detergent (not hand soap adjust amount of soap to your preferences) per 32 oz. water. Thoroughly wet surface to which decorative window film will be applied. Depending on the type soap used, you may need to adjust the amount of soap used after your first install. |
 |
4. Using same solution, wet your church window film to be applied completely, leaving no area unsprayed. This solution gives flexibility when placing film on glass, allowing you to slide it into the correct place easily. |
 |
5. Place Illuminado window film into position on glass. Having an extra person to help move the window film and another to help in positioning it is recommended for beginners, though you may find as you progress, you can do it on your own. |
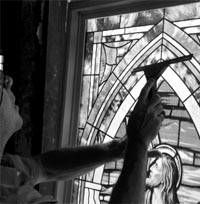 |
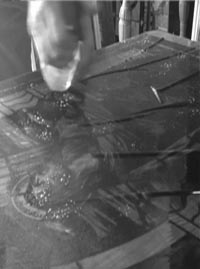
6. Working from the center outward, squeegee excess water and air bubbles out of the image. For ease with the squeegee, wet surface of the film with solution too. If you run into any problems, carefully peel the bad area off the glass slowly and respray the glass and film. You will find that they get easier to install over time. |
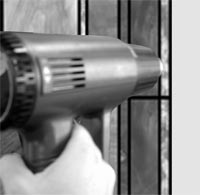 |
7. To speed drying the use
of a hair dryer can be used, though not needed, especially when the image is installed upright.
Work carefully to avoid bubbles. Most of the time, drying will take around an hour before you should install your lead tape |
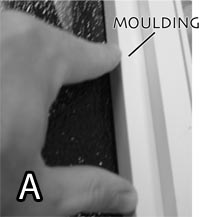   |
8(a) If applicable, install your moulding around edges. This is highly recommended as it prevents accidental peeling of the film around the edges.
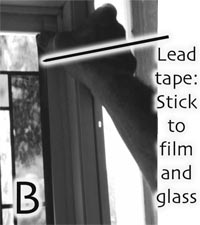
(b) If you dont have moulding, we can supply you with lead tape
(extra cost) to be installed when image is COMPLETELY DRY along the edges
to give a finished look.
(c) or you may carefully caulk around the edges of the image when it is dry. IMPORTANT:with b & c your lead tape or caulk will attach at one end on your image, while attaching to the exposed glass or frame on the other end. Steps B and C are not needed to adhere the film to the glass, only to give the film a finished look as sometimes when installing the film, there is a gap between the edge of film and the window frame where light shines in. We recommend the tape over caulk, it looks better and is less messy. If you have any other questions about installing, feel free to call us at 800-291-3739
|


Find us at:
2016 Airport Blvd,
Mobile AL 36606
Toll Free:
1-800-291-3739
or
251-473-6860
Open M-F 8:30am-5pm

________________________________________________________

Illuminado Window Film Copyright © 2014 All Rights Reserved
